- Products
- Why Nudura
- Nudura Project Applications
- Training Academy
- Resources
- Company
Installers, if you’re working with Nudura Insulated Concrete Form (ICF) walls, you’ll know that all window and door openings require a robust 'buck' system to provide the proper connections and support. The Prebuck system is ideal for punched openings and is designed for direct contact with concrete, making it the perfect product to use with ICF. Keep reading to learn how to properly install and flash a window or door opening in ICFs with this bucking solution.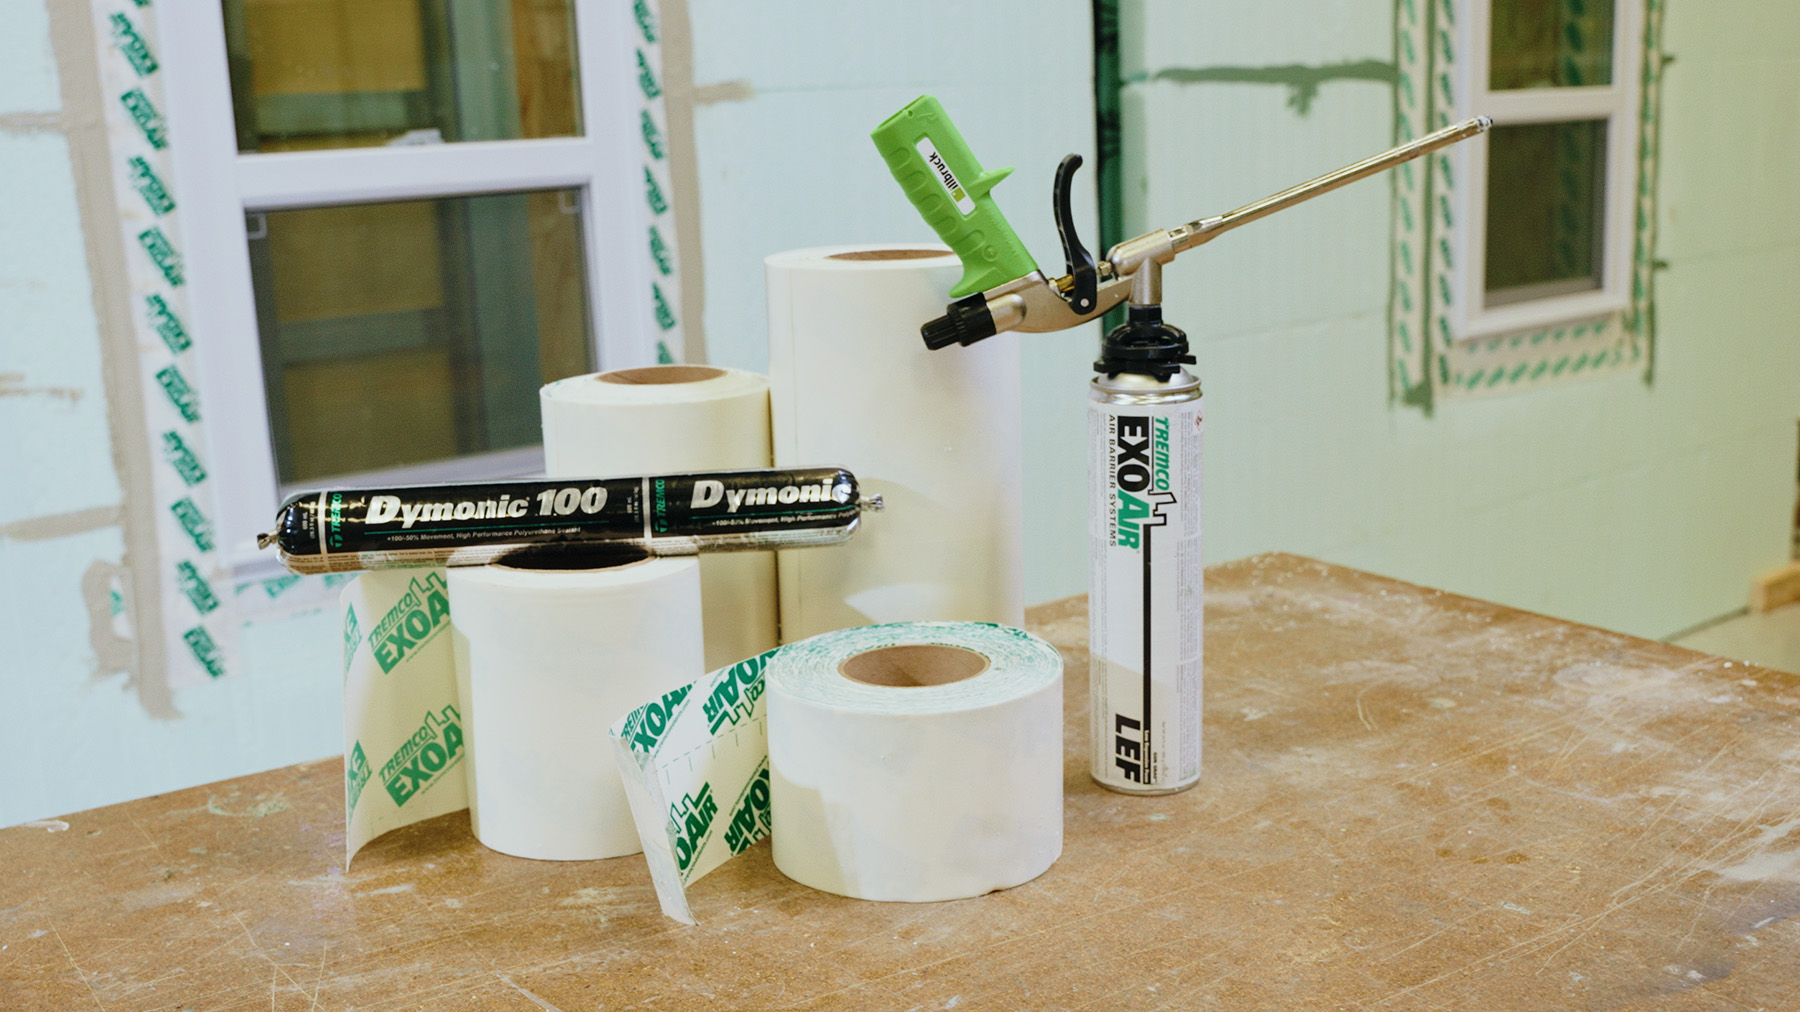
What You'll Need:
- Prebuck Bucking System or equivalent
- ExoAir® 110AT: Self-adhered air and vapor membrane
- Dymonic® 100: A durable flexible sealant
- Rasp tool
- Low-expansion spray foam
Step-by-Step Installation Guide:
In this blog, we are going to walk through a step-by-step overview of the installation of a window or door opening in an ICF Wall. You can reference the Installation Instruction Manual for a more detailed process.
Step 1: Check for Holes
Once the ICF wall has been reinforced with rebar, filled with concrete and has cured, inspect the wall for any holes or gaps around the door or window opening. If any holes or gaps are found use the low-expansion spray foam to fill the holes. Always ensure that the surface is dry, clean, and free of any UV degradation or debris prior to the application.
Step 2: Smooth the Foam
Use a rasp tool along the edges of the opening to smooth the foam and create a uniform surface. Rasping helps break up the surface of the EPS foam to achieve improved adhesion between the foam and the material being applied.
Step 3: Seal the Seams
Use Dymonic 100 or other compatible sealant to seal both the vertical and horizontal seams in the Nudura ICF form. Begin at the edges of the openings and extend 1” (25 mm) beyond where the flashing material will stop. Make sure to seal vertical seams right up to the concrete surface.
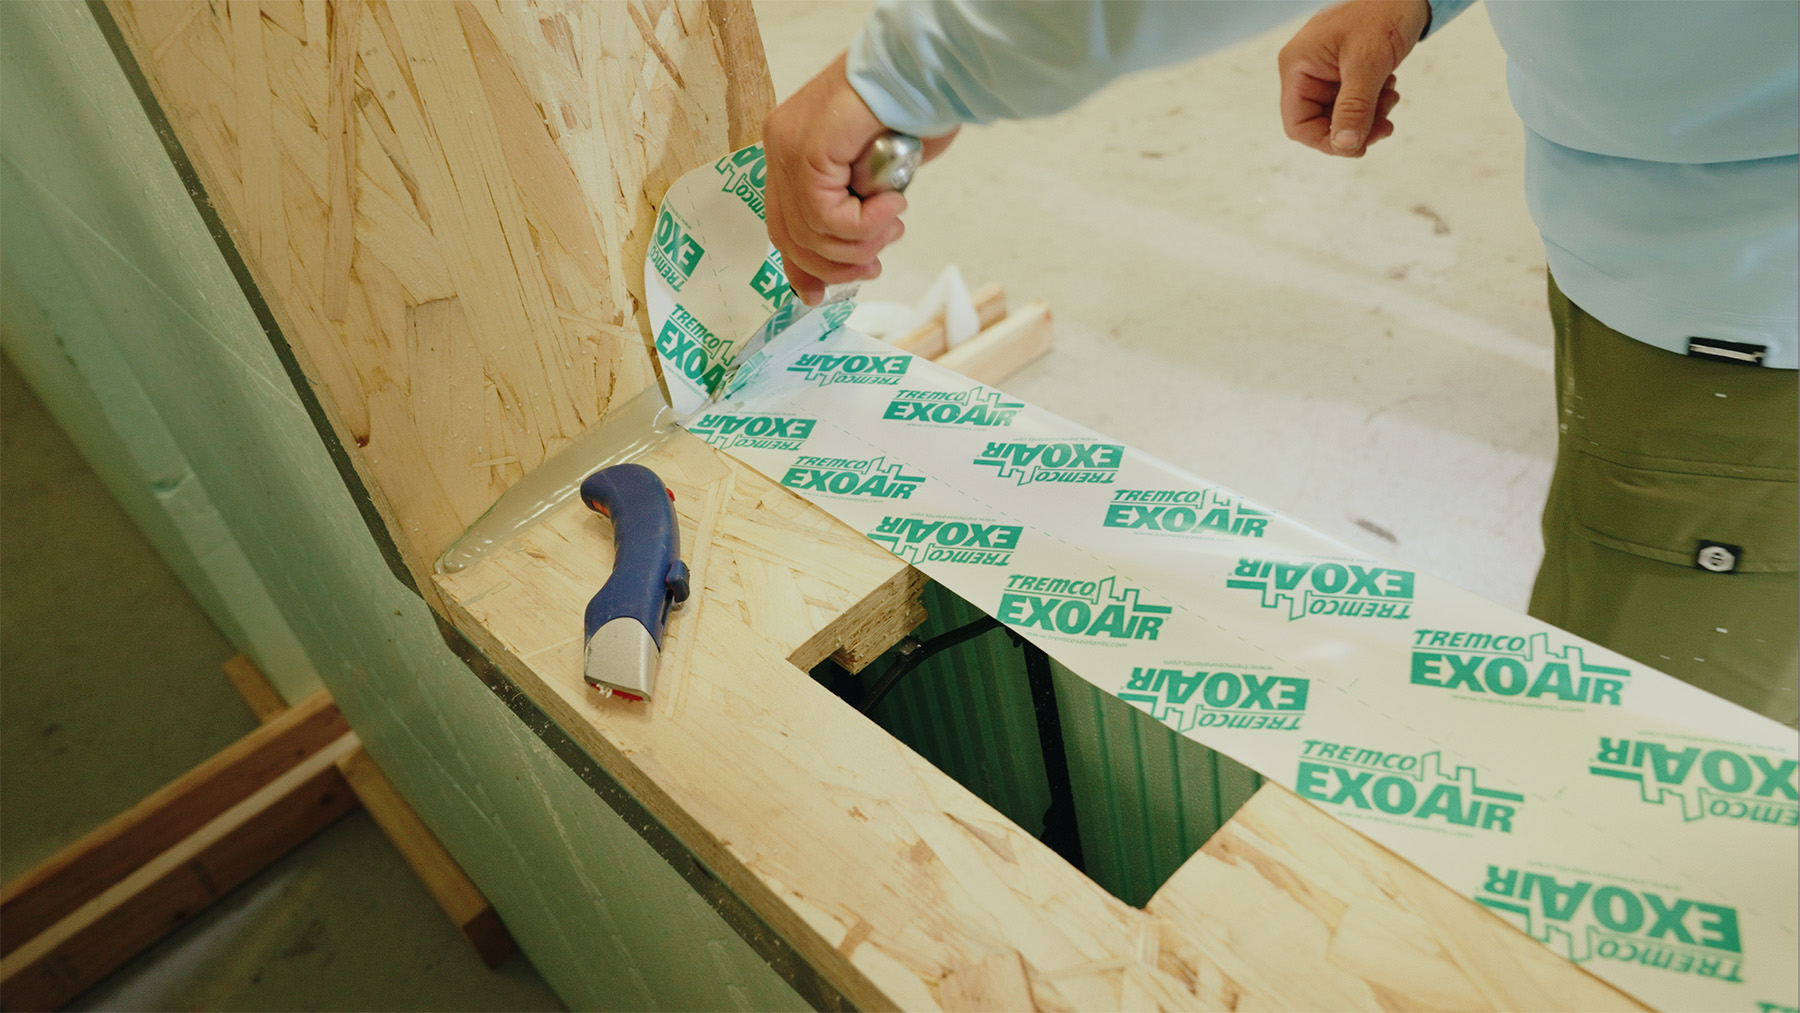
Step 4: Install ExoAir 110AT
At the corners of each rough opening, install bow ties using ExoAir 110AT. Apply this self-adhered sheet, extending 3 inches (76 mm) onto the exterior face of the wall, starting at the sill, jambs, and head. Then, apply Dymonic 100 along the perimeter of ExoAir 110AT to seal the edge to the Nudura form.
Step 5: Apply Dymonic 100 and Install Window
Before installing the window, use Dymonic 100 to create a ¼” bead in an inverted U shape around the window opening. After this, proceed with installing the window.
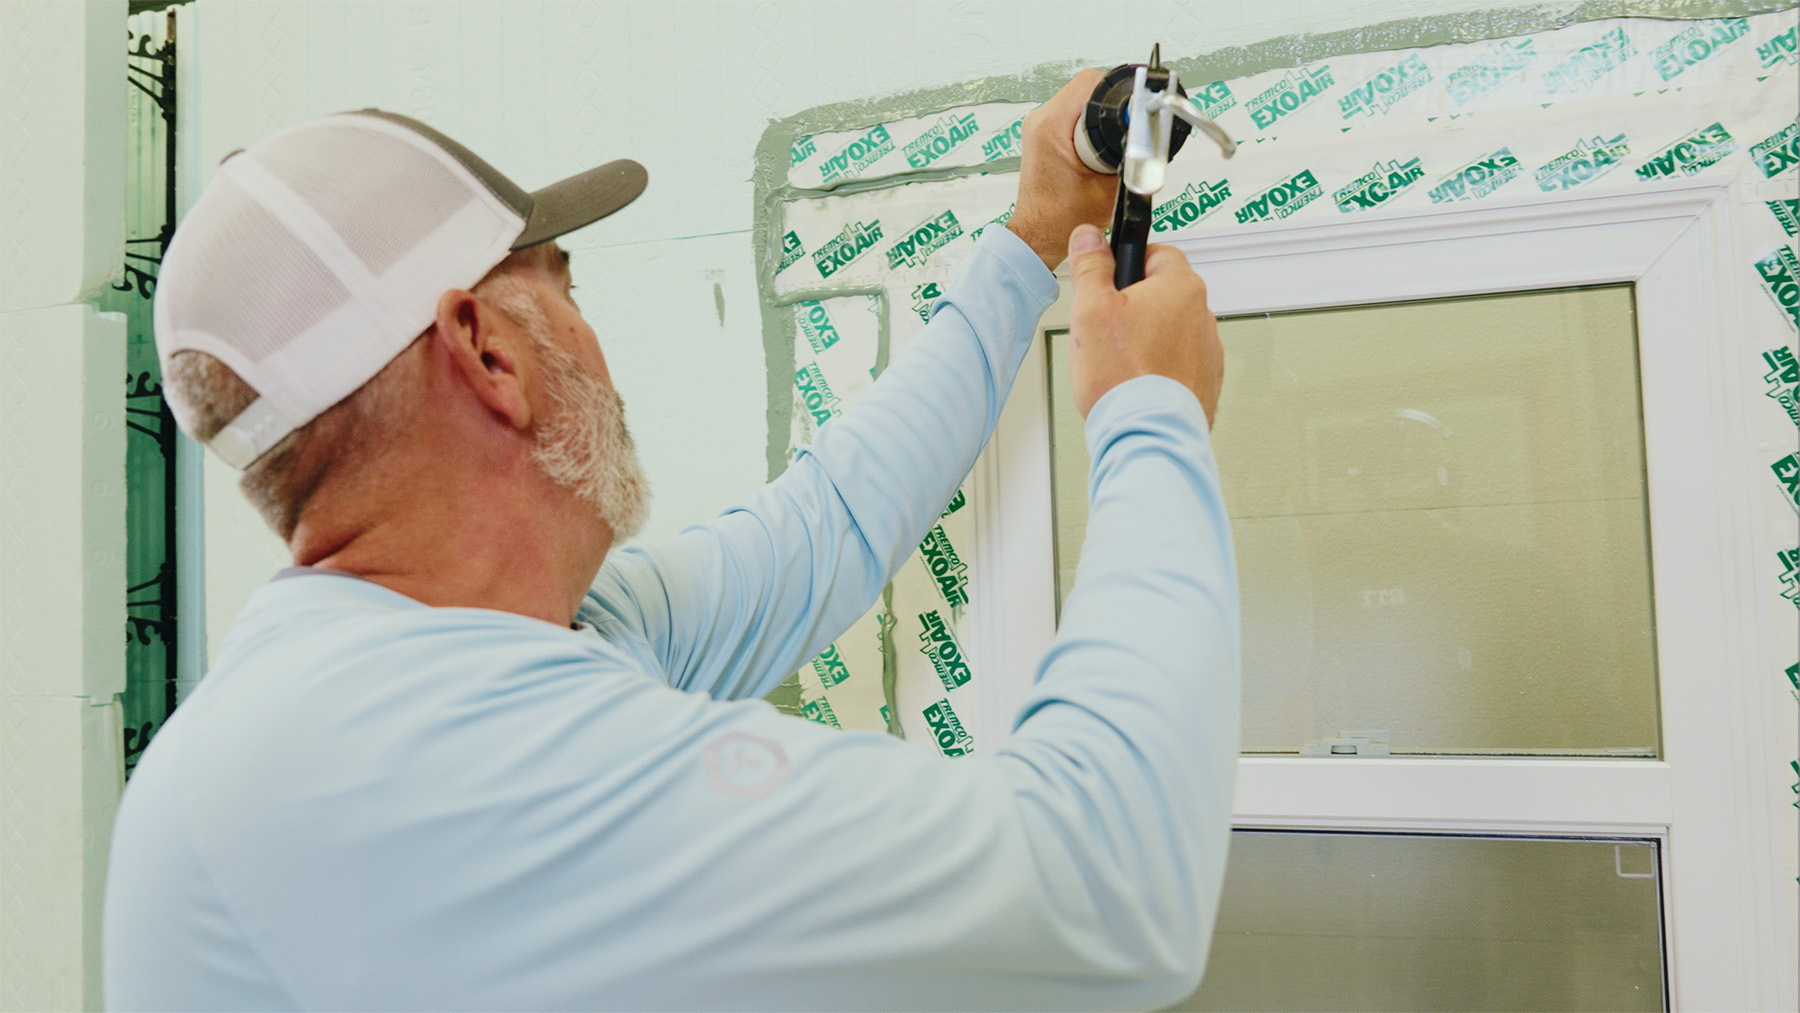
Step 6: Flashing the window with ExoAir 110AT and Dymonic 100
Once the window is secured, apply ExoAir 110AT over the window flange at the jambs and head. Next, apply Dymonic 100 around the perimeter of ExoAir 110AT.
The Prebuck Window and Door buck system combined with the flashing and sealant creates a water and air-tight opening in your ICF walls.
Want to learn more about installing ICF? Become a trained Nudura Installer with our in-person and online offerings that fit any schedule.
CONTACT US
We’re committed to supporting homeowners and design professionals who are interested in or use our products. We’re always happy to help and provide more information.
Part of the Tremco Construction Products Group
International: 866-468-6299
North America: +1 705-726-9499


