Do you have questions or concerns about how to install an ICF system? Even experienced builders and contractors may be unsure where to begin when exploring the technology for the first time. Until you take our training course (which we highly recommend), here is a look at the first few steps involved in ICF construction, starting out from a basement or slab on grade condition. You can also review or download our ICF 101 E-Book for more details.
The installer will chalk out an outline of where the building will stand, and then set the corner form ICF units in place.
The standard forms will be cut to achieve the appropriate wall length, and then laid in from corner to corner. Typically, there won’t be any openings in a slab on grade condition – those will begin to form after the second course.
![]()
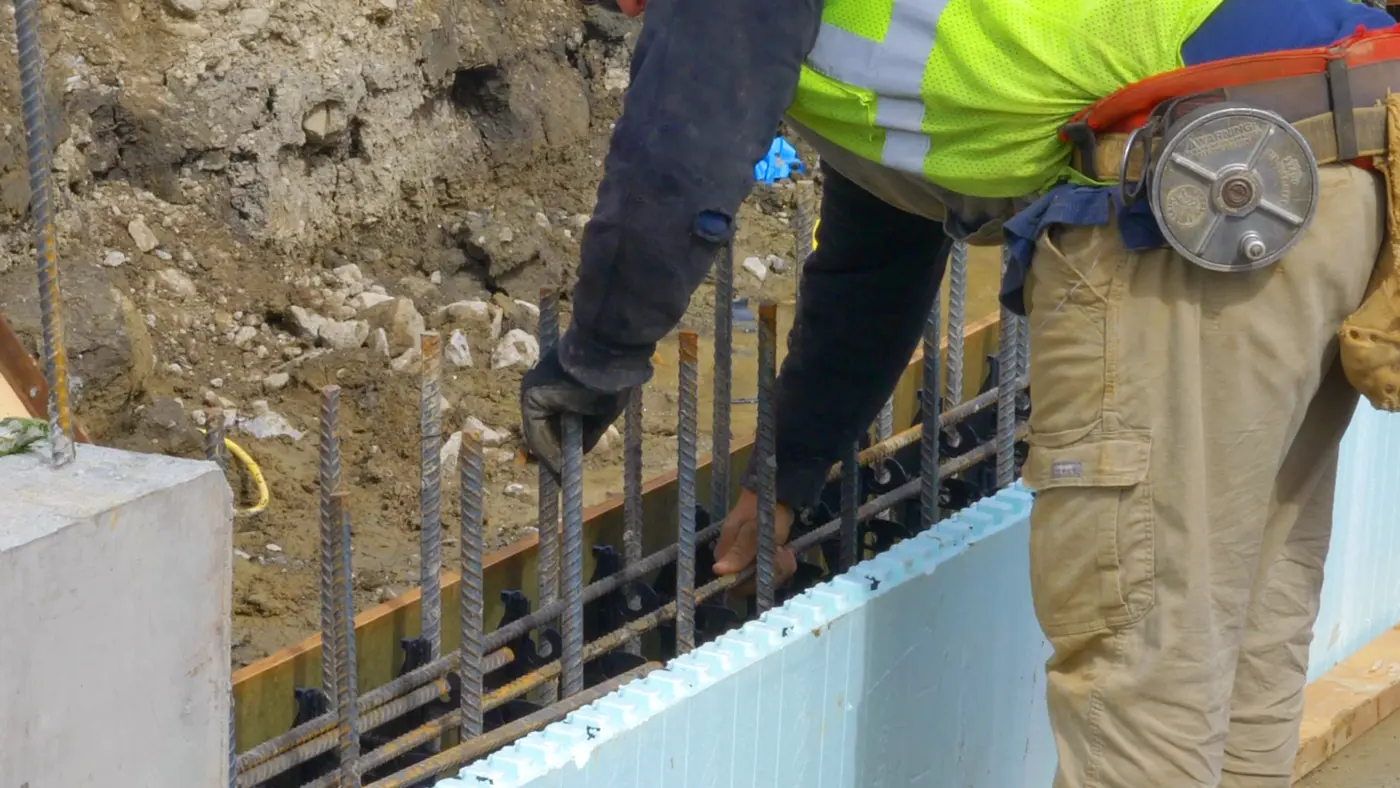
Horizontal steel will be positioned within the form units in the cavity in preparation for reinforcing the wall.
Once the second course is laid up, laser levels can ensure perfectly square, plumb and level walls.
Place the units on top of each other. While some units are friction fit, Nudura® forms use a vertical integrated interlock that holds the units solidly together along the horizontal line of the form. The ICF blocks are also completely reversible to streamline construction and minimize waste.
As construction continues, installers will want to use a buck material to help create a rough opening where windows and doors will be set and anchored. Made of wood or steel, bucks enable the concrete to be held back and formed in the opening and can be utilized and interfaced with any ICF.
To learn additional details on how to complete the ICF construction process, check out our in-person and online training courses today.